

cadet702
Getting Started

Adafruit Playground is a wonderful and safe place to share your interests with Adafruit's vibrant community of makers and doers. Have a cool project you are working on? Have a bit of code that you think others will find useful? Want to show off your electronics workbench? You have come to the right place.
The goal of Adafruit Playground is to make it as simple as possible to share your work. On the Adafruit Playground users can create Notes. A note is a single-page space where you can document your topic using Adafruit's easy-to-use editor. Notes are like Guides on the Adafruit Learning System but guides are high-fidelity content curated and maintained by Adafuit. Notes are whatever you want them to be. Have fun and be kind.
Click here to learn more about Adafruit Playground and how to get started.
-
Pinned by cadet702
Doggy Buttons!
Inspiration
This project was born from two desires. One, see if our dog could be taught to use buttons without spending piles of money. Two, to make use of an ancient Raspberry Pi.
Lots of people have done a project like this, and it isn’t necessary to use a Raspberry Pi. That just happened to be the only unused piece of electronics I had on hand with audio output. But, I will say that I definitely recommend this approach for a couple reasons. Firstly, it’s very easy to get running in Python with Adafruit’s Blinka library. Second, it leaves lots of room for growth (both in number of buttons and features like button presses sending digital messages).
Be sure to read all the way to the bottom for a cute puppy photo!Materials Used
-
Raspberry Pi (low cost model A)
- Gifted by a coworker who was going to throw it out
-
16GB (full size) SD card
- Came with my 3D printer, but is overkill for that purpose
-
Audio cable
- From a box of junk computer parts
-
Audio amplifier
- Included in a box of junk that got shipped to me
-
Speakers
- From an old CRT TV
-
Jumper wires
- Reused from multiple projects
-
Keyboard breakout
- Hand made from salvaged diodes, jumper headers, perf-board, wires, and solder. Let's call it 50% recycled.
-
3D printed buttons (and some hotglue)
- Technically new, but I don't count 3D prints if they displace buying other plastic
-
Electronic buttons inside the prints (also a boot button shutdown switch)
- All salvaged from ewaste or otherwise discarded
-
Wooden mounting board
- Had to buy it from a hobby store
Salvage percentage ~83%! Hard to give an exact number... do you measure by count? By volume? By mass? By value? Do you count new tools you had to buy? Whatever, I'm going to call it 83%.
-
Raspberry Pi (low cost model A)
-
Workout Rest Helper
Materials
-
Particle Argon (nRF52840)
- Salvaged from my own drawer of abandoned IoT ambitions
-
Grove Shield for Particle Mesh (this would also work well if you don't like Grove connectors)
- Saves me a breadboard and a fistful of jumper wires
-
TM1637 4-digit 7-segment display
- From the parts bin; the cheap red clock-style module
-
Piezo buzzer
- Parts bin
-
Potentiometer
- Parts bin
-
Momentary push button
- Parts bin
-
Lipo Battery
- From a junk swap table at a conference
-
Enclosure
- LOLOL, enclosure? Nah, I just wrapped the thing in some electrical tape
Salvage percentage ~10%. I'll be honest, this is my *least* salvage-y build (I did by everything but the battery at some point), but a useful gym gadget built in under an hour from an orphaned dev board and the contents of a parts bin?! Cool!
A Little Rest-Interval Timer
Using CircuitPython on a Particle Argon (or any CP Feather really)
-
Particle Argon (nRF52840)
-
Look Ma, No Microcontroller! (RGB LED Edition)
Inspiration
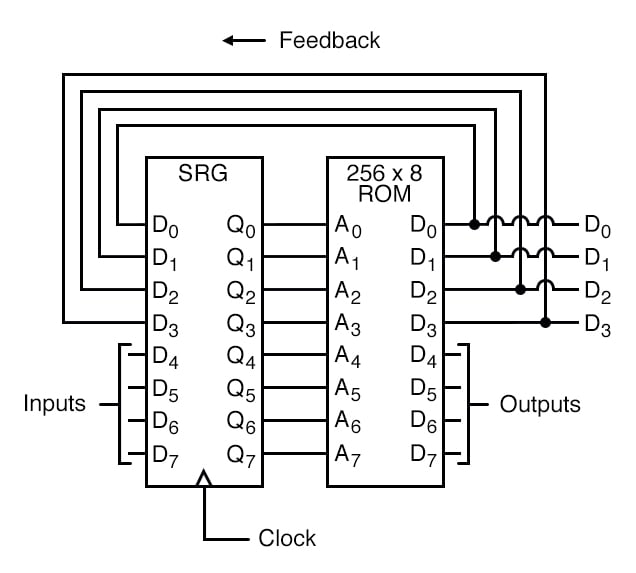
Making beautiful patterns with RGB LEDs is a popular electronics project, but the possibility of generating these patterns with only a piece of flash memory, six D type flipflops, and a 555 timer was too tempting a project to pass up. I'd been puzzling over what to make from the 8 feet of dumb RGP LEDs I'd picked up from Goodwill and when someone shared this link explaining how to make a finite state machine from simple electronic components, something clicked and I couldn't stop thinking about how to combine the two "dumb" systems into something beautiful.
Materials
-
8ft of (dumb) 5V RGB LEDs
- A lucky $2 find at Goodwill
-
4, 2ft LED diffuser strips
- ~$20 (lost the original receipt, sorry)
-
Flash memory or EEPROM
- Salvaged 128KB Flash Memory (AT49F010) in my case
-
5, D type flipflops
- Salvaged SN74LS174N IC
-
555 Timer IC (or other clock source)
- Salvaged IC from an ancient computer motherboard
-
Perfboard
- New, 8 segments of an ElectroCookie PCB Prototype Board
-
NPN BJT x11 (8 bit indicators + 3 LED strip drivers)
- Salvaged from an ancient (and broken) oscilloscope
-
Potentiometer
- New, in a kit with other things
-
Micro Switches
- Salvaged
-
8x Red Indicator LED (for displaying the current byte of memory)
- Part of a bag from a garage sale, estimated cost <$0.10
-
5V Power Supply
- A broken USB cable found in the road
-
3D Printed Case (TBD)
- TBD
-
Misc caps, resistors, indicator LED, wires, and chip sockets
- Salvaged or spare
The salvage percentage is especially hard to calculate on this one since several items are purchased, but not new. My guesstimate will be based on the market value of a similar system vs the cost of the parts I acquired to create my own. I'm going to ballpark a similar set of RGB LEDs with a few predetermined patterns at about $100, the total cost for my parts was only around $22, so I'm going to call this one 78% salvaged.
-
8ft of (dumb) 5V RGB LEDs
-
Stuff My Dog Said (via AdafruitIO)
Inspiration
This project is an extension of the original doggy buttons project where I'll be showing how to make a public dashboard that publishes everything my dog says. This project is just one example of how to extend the features of my doggy buttons and perhaps one of the silliest IOT devices ever made. If you want to know about the buttons themselves, see the original project writeup.
With a project like this, it's also important to think about privacy. I don't want my dog making it possible to tell when we're away from home, so I'll also show how to add a delay so that activity is only published once it's sufficiently stale.Setup Challenges
User Space vs Admin Space
The first version of my program was kicked off by
/etc/rc.localon boot, but this had the side effect of running the program asroot. That was fine for my original project, but I had followed best practice and not usedsudowhenpip3 installing the Python libraries needed for loading data to AdafruitIO. If I logged in to run the program as my user, it would end when I logged off butrootno longer had all the Python libraries needed to run.Lennart (Binary Labs) suggested the simple and elegant solution of adding
sudo -u MY_PI_USERNAMEbefore the command that would launch my code in/etc/rc.local. This allows the program to be run as my user without having to login and was much simpler and cleaner than the other solutions I was considering.Concurrency
The first version of my code simply added a call to
aio.send_data(...)in the same loop that processed button presses, but I quickly discovered that the upload process could take 3 - 4 seconds leading to very delayed sounds when more then one button was pressed. Things like "water outside walk later" became "water ... outside ... walk ... later". This was starting to confuse my dog because the sounds weren't immediately connected with the button presses and would sometimes sound when she had gone to push something else entirely because the button "wasn't working".To fix this it was going to be necessary to introduce separate queues, one for playing sounds that could respond quickly, and one for uploading button presses that could slowly upload data to AdafruitIO in the background.
-
Look Ma, No Microcontroller! (Night Light Edition)
Inspiration
This is a piece of "found art"; a multi-colored circuit board hiding inside some old discarded electronics. It just needed a backlight and a frame to highlight its beauty. From the beginning, I knew this would become a nightlight and held onto the board until I had acquired the perfect combination of discarded LEDs and a few other components needed to make it shine.
Case Design
My 3D printed case had 3 chambers. One for the electronics, one for the LEDs, and a thin slot a the front to hold the circuit board and clear plastic cover. The reason for the separation was to make sure the LEDs were the right distance to illuminate the board and to minimize the light that leaked out that back of the frame while still allowing hot air to escape. The design was almost perfect, but I ended up having to cut a large slot in the back so I could replace the back wall with a slotted version for better ventilation (not pictured).
Before closing up the case, test that it can be dimmed appropriately.
-
Look Ma, No Microcontroller! (Soldering Lamp Edition)
Inspiration
I needed a soldering lamp that didn't cast strong shadows and was an opportunity to salvage the LEDs from a broken TV left by the dumpster.
There are lots of ways to make a good soldering lamp from LEDs. I happened to pick a difficult path that required some reverse engineering but I hope you'll find the journey... illuminating. ;-)