Getting Started
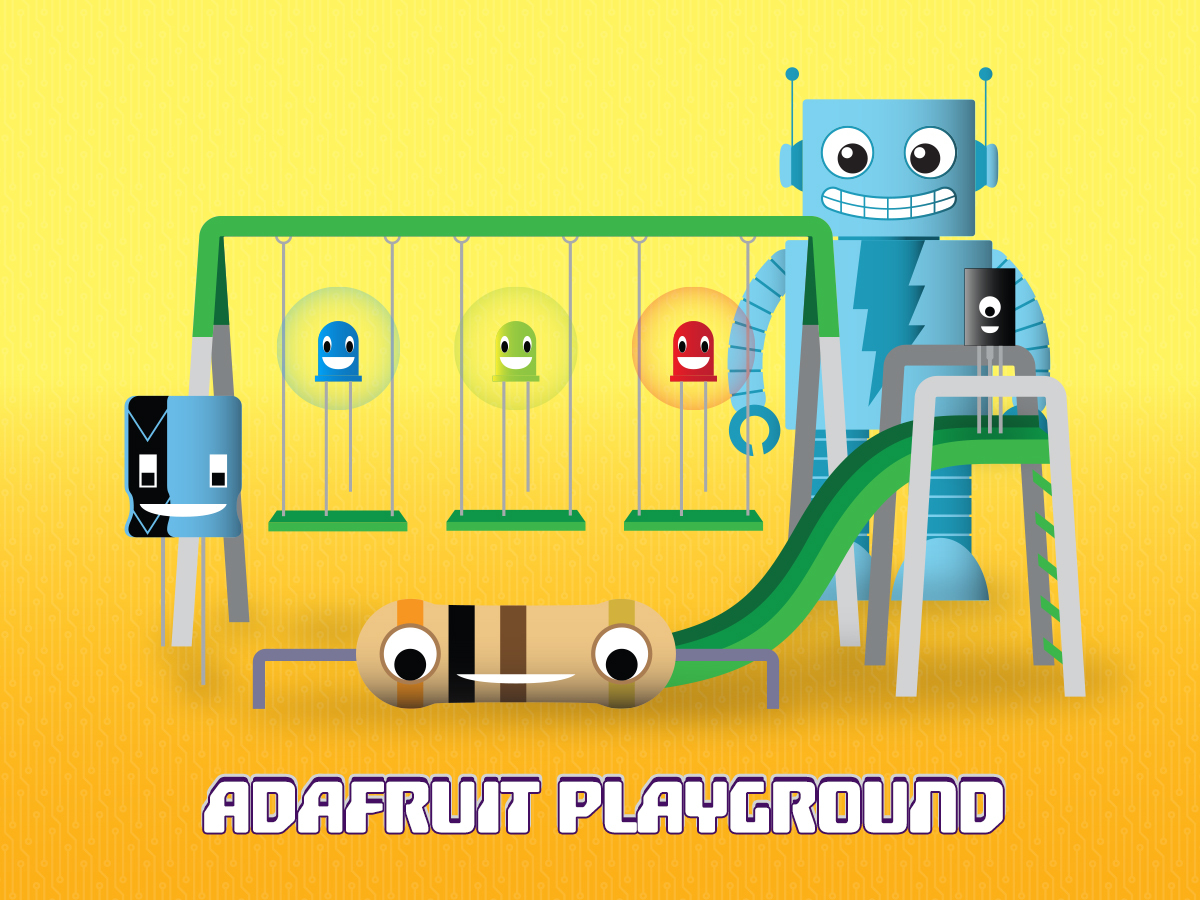
Adafruit Playground is a wonderful and safe place to share your interests with Adafruit's vibrant community of makers and doers. Have a cool project you are working on? Have a bit of code that you think others will find useful? Want to show off your electronics workbench? You have come to the right place.
The goal of Adafruit Playground is to make it as simple as possible to share your work. On the Adafruit Playground users can create Notes. A note is a single-page space where you can document your topic using Adafruit's easy-to-use editor. Notes are like Guides on the Adafruit Learning System but guides are high-fidelity content curated and maintained by Adafuit. Notes are whatever you want them to be. Have fun and be kind.
Click here to learn more about Adafruit Playground and how to get started.
-
Wii Nunchuck BLE Adapter Overview
A few years ago I got this nifty LED glasses kit in an Adabox. The kit comes with a specially-designed nRF52840 BLE microcontroller to drive the LEDs wirelesslly with Bluetooth Low Energy. I wanted to build a simple controller that I could pair with it for easy use, without having to dig out my phone and use an app, so I built a an adapter to essentially convert a Wii Nunchuck into a wireless Bluetooth controller.
This controller doesn't strictly have to be used to control LED glasses though. You can use it to control virtually any gadget with BLE capabilities. The Nunchuck features 2 buttons, an analog stick, and an accelerometer, so it makes a capable and handy input device for many tasks. Since it uses a Feather nRF52840 Express, you can program it in Arduino or CircuitPython to behave just how you want!
Difficulty: Intermediate. Some soldering is required.
Parts
- Feather nRF52840 Express
- Wii Nunchuck adapter breakout
- Mini on/off push-button switch
- 400 mAh Li-Po rechargeable battery
-
Black 2.5mm nylon standoff screw kit
- 4 M2.5 6mm screws
- 4 M2.5 6mm male-to-female hex standoffs
- 8 M2.5 hex nuts
- Wii Nunchuck controller

-
Feather TFT Gamepad Tester with Sprites This demonstrates a visual USB gamepad tester using using an Adafruit USB Host FeatherWing, an ESP32-S3 TFT Feather, and sprites created in Krita.
Video Demo

-
Super Basic RGB Matrix Driver Example The other day I decided to level up my understanding of how these popular "HUB75" style RGB LED matrices work. So I sat down with the intent to write the most basic bit bang example I could come up with. Here I share the resulting code, written in CircuitPython.
There are plenty of Google discoverable write ups on these that go into lots more detail, discussing the shift registers, scan lines, etc. It's worth reading a few of those first. We found these to be useful:
- Everything You Didn't Want to Know About RGB Matrix Panels - A good write up with some nice animations by Nick Poole at Sparkfun who needed to also understand how these work to modify an Arduino library for an unsupported panel type.
- RGB LED Panel Driver Tutorial - read the "Theory of Operation" section.
- Driving a 64*64 RGB LED panel with an FPGA - read everything up to "Driving the matrix".
There's also a brief description in the Adafruit Learn System here:
These discussions can quickly get a bit complex, since there are a lot of pieces that work together in concert. However, there are a lot of things that are redundant. For example, how each red/green/blue LED is controlled is the same. Also, the matrices are typically split into upper and lower halves, but each is updated in the same way - R1/G1/B1 for the upper half, R2/G2/B2 for the lower half. So to keep things as simple as possible, this example does the following:
- Only use a single color
- Only work with the upper half of the matrix
This greatly reduces the total number of pins needed. It also really helps focus on the basic way in which data is moved into the matrices. By using just the upper half, the R2, G2, B2 pins can be left unused. And by focusing on just one color, we can use any one of R1, G1, or B1.
A Feather RP2040 was used with the following pin connections (Feather to Matrix):
- 13 to R1 (or G1 or B1 - your choice!)
- SCK to CLK
- MOSI to LAT
- MISO to OE
- A0 to A
- A1 to B
- A2 to C
- A3 to D
- GND to GND
There's nothing special about these pin choices - any digital pins could be used.
The matrix used was an Adafruit 32x32 4mm pitch panel (PID 607).

-
24/7 Online Requests with CircuitPython There might come a time when you want a project running 24/7 permanently online. Weather and Real Time Clock (RTC) updates are common uses. It's not enough to code a request to an API, you must know how to avoid every possible scenario that might crash your script. That's where error exception handlers come in.
Learning how to use exception handlers is the most important aspect of an always online script.
If you're a beginner please read Networking in Circuit Python then Web API's & You first. 24/7 Online Requests is a follow up guide for intermediate level Circuit Python coders. Some parts of this guide infer you already know the basics for getting your board online & interacting with Web API's.
The above code is as basic as it gets for attempting to connect to WiFi but what happens if your WiFi access point is down or the credentials are wrong? Your script will cease to function and will crash with an error to a console. The error could be any number of possible errors such as out of sockets, out of retries, failure to get host, and so on.
Basics of Try/Except
By wrapping the WiFi connection request in a try/except, instead of crashing to REPL, it opens some important options which include (but not limited to):
- print the error to serial console
- ignore the error completely
- retry from where try was initiated
- reload code.py
- restart the microcontroller

-
Integrating Circuit Playground Bluefruit into Home Assistant Have you always wanted to get your Circuit Playground Bluefruit working with Home Assistant? Have some Circuit Playground Bluefruit devices sitting around and you'd like to use them as temperature sensors or use the buttons to control aspects of your home?
Well, you can. Using Circuit Python and the BTHome specification for advertising data over Bluetooth, you can broadcast the temperature from a Circuit Playground over Bluetooth to your Home Assistant.
The BTHome website has a nice, quick primer on the advertisement format for BLE. An even shorter primer is here. BLE defines the format for advertisements and data packets. We're interested in the Advertisement payload format, which is part of the overall data packet.
The advertisement payload consists of a series of advertising (AD) elements. Each AD element has a length (1 byte), an ID (1 byte), followed by ad element specific data (variable length).

-
Is that a good idea? Building a one-dimensional Starfighter game.... Last January I spied an Arstechnica article, "1D Pac-Man is the best game I’ve played in 2024 (so far)", and it got me thinking. I've done more than a few little arcade games with my Pybadge - but I wondered if I could do something on the CircuitPlayground.... Hmmmm.....
So I came up with StarFighter Patrol. Basic premise: Hyperspace lanes are plagued by navigational hazards - asteroids - that you need to blast to clear for safe passage. A "lane" is a 100 element array in the program - on the CPX you see ten elements - your ship at pixel 4 or 5 (depending on which direction you are heading). The stars and asteroids move clockwise initially - the lane is a circle, if you wait long enough the same elements will come toward you.
Pressing B reverses direction, A fires your lasers. You need to clear the purple asteroids that are a hazard to hyperspace navigation. You can move to a new region by hitting A4. Or if you choose restart the game with A3. When you've been hit 5 times your score (number of asteroids cleared) will show before the game restarts. (the score is digit-by-digit, so 13 would show one pixel, then three pixels. Zero is all green pixels). In the CircuitPython version you restart when you hit A or B. The Makecode/Javascript version will restart after a pause.
The Circuit Playground display shows your spaceship as a green dot, and the stars and asteroids heading toward you in a 10 pixel-wide display - this is a portion of the 100 pixel wide hyperspace lane you patrol (think of the "lane" as a circle - you move left or right in in and will wrap all the way around if you play long enough). Your ship fires toward oncoming objects - so when you reverse course the laser blasts (yellow dots) move towards the oncoming objects.
Bonus: You can see MORE pixels if you attach https://www.adafruit.com/product/3811 - the 30 pixel Adafruit neopixel strip using A1 as the control - then you'll get a 30 pixel wide one-dimensional display!
I'm happier with the way the CircuitPython version turned out - but both versions (Makecode/Javascript or CircuitPython) pretty much work the same.
Switch to the right to turn off sound.Files in the github archive:
- bach.py - provides musical tones - copy to Circuit Playground for starfighter.py
- starfighter.py - 1D starfighter patrol game. Destroy asteroid threats. copy to code.py on your Circuit Playground
- starfighter.js - Javascript version Makecode link: https://makecode.com/_RocF4AHbY19R
Game controls:

  A - fire laser
  B - reverse direction
  A4 - hyperspace
  A3 - restart game
  A7 - show last score
-
the arm -
Hoffman Input Device using Neokey 1x4 for AAC Access Persons with disabilities related to communication may utilize grid based communication systems as Alternative Augmentative Communication (AAC). One such web based and open source system is AsTeRICS Grid developed in Vienna under government funding with the goal of making this type of communication free and accessible to all. It has a wide range of features and input methods, one of which is the Huffman input method which assigns key combinations to each cell.
This got me thinking about Adafruit's NeoKey Emoji Keyboard project and what a great fit it would be for this type of input. I managed to tweak the project's file so each key press sends the numbers 1- 4 to support navigation through the cells. Thanks to Liz Clark for the code and wonderfully helpful and easy to follow tutorial!

-
USB Host Gamepad Decoder This demonstrates a CircuitPython driver for reading XInput USB gamepad events using the Adafruit USB Host BFF (MAX3421E) and a QT Py ESP32-S3 dev board.
Demo Video

-
Home CAN Bus Network Using Telephone Wiring Have you ever wondered what you can do with your unused twisted-pair telephone wire running throughout your house? Well, how about using it as the transport medium for a CAN bus network of environmental sensors? This project, which I dubbed PhoneCAN, is a relatively easy project which uses Adafruit hardware and CiruitPython. My setup uses four CAN nodes:
- A "home" node with an OLED Featherwing display on an RP2040 CAN feather with MCP2515 CAN controller that can show current values for all four nodes using the buttons on the display
- A "send" node with ESP32-S3 Feather and CAN bus Featherwing MCP2515. This node gathers measurements from all nodes at a user-specified interval (I use 15 minutes), averages them over the interval, and pushes them to Adafruit IO.
- Two "remote" nodes which use RP2040 CAN Feathers with MCP2515 CAN controllers.
- I used two types of sensors (just because these were the ones I had on-hand) as I was interested in tracking temperature and relative humidity around my house. Any of Adafruit's environmental sensors should work:
- Gather all those old phone patch cables that you have lying around in drawers around your house (be careful though, some cables have "swapped" wiring). For most of my nodes I used RJ11 breakout boards to connect the three-wire CAN controller to my home phone jacks.
I have all of my nodes reading and posting measurements every second to the CAN bus. Documentation and sample code provided on my PhoneCAN github repository. I believe that this is a relatively easy project and was really a lot of fun to put together. Best part?.. Using that old (abandoned by the steady march of technological progress) twisted pair phone cable sitting in the walls of my house.

-
Rotary Encoder Menu System Demo This demonstrates how to add a simple menu system to your project using a single rotary encoder for input and the serial console for output.
Hardware: Parts and Tools

-
Building a "Top-Secret" lunchbox Recently I introduced my current project, which I've been calling the "Top-Secret Lunchbox", on Adafruit's Show and Tell stream. I wrote this playground to go into more detail about how I built it.
I mentioned in the stream that it took me about a week to design and build the lunchbox, but that's a pretty generous estimate that does not tell the entire story. For starters, it does not include writing any code beyond basic hardware bring-up (the game code is essentially an entire other project). It also doesn't account for the fact that this is my third attempt at such a project, building on roughly three months of prior learning and experimentation. I was able to reuse many solutions from that experience, including designs for 3D-printed panel mounts for various hardware. This allowed me to make more informed choices and reduced the amount of time needed for learning and experimentation.
The short time frame also belies that this is a fairly complex gadget for a hobbyist project. It uses most of the hardware features of the RP2040 Propmaker Feather, as well as all of the available GPIO (except for the servo output, which I did actually consider using at one point for something like a haptic motor). It required designing and printing several parts for basic assembly. It required a lot of soldering, and some "clever" solutions to some interesting challenges.
Given the overall complexity, and the fact that I was still "winging it" on several aspects of the project, this article will describe more "how I did it" than "how you should do it". I will provide as much detail as I can about the entire process, including designing, printing, wiring, and assembly. I will also provide CircuitPython source code for a full working game! You can find a walkthrough of the game at the end of this article.

-
Heat Flow Visualiser: Visualise the Invisible with NeoPixels and the RP2040 Scorpio 
-
Using multiple WiFi network credentials in Adafruit IO WipperSnapper firmware As of July 23rd 2024, we've added support into WipperSnapper for specifying backup wifi credentials, simply by adding an array of entries under the new key "alternative_networks" in your secrets file.
You can have up to 3 alternative/backup network configs, plus the original one. What original one? And what does it all look like? Well let's go through an example:

-
Decison Maker! An invention was patented in 1948 that has assisted millions in making decisions. Long before widespread access to computers, this device - completely mechanical gave instant answers to questions - no AI or LLM required.
I refer to ... the Magic 8 Ball.
It doesn't take much of a web search to find examples of programs to recreate the Magic 8 Ball. It's an easy exercise - for example, here's one at geeksforgeeks.org that made a fun starting point for me to adapt for some Adafruit fun.
It wasn't hard to adapt that code into CircuitPython for the NeoTrinkey. I put together Magic8.py. Load that on a NeoTrinkey - copied to code.py. When run, it will display a blinking idle pattern. Touch either touch pad and it will go to Green (yes), Yellow (maybe) or Red (no). If you are running it in an IDE like Mu or Thonny, the REPL will print an answer appropriate to the verdict. Touch the pad again to return to the idle pattern.
But, why not make a better, smarter tool - something that you can use to calculate the answer? And why not have it SPEAK the answer?
In my DecisionMaker repository you'll find all you need to do that.
Starting with MakeCode I created a two-mode DecisonMaker for Circuit Playground Express. With the switch to the right, press the "A" button and it will give you a Green/Yellow/Red verdict. In addition, IF it is plugged in to a computer with a usb cable, touching A4 will give you a verdict and TYPE the appropriate message text. (note: If the CPX is not connected to a computer, touching A4 will crash the program; also, if you copy DecisionMaker.js into MakeCode, you'll need to add the Keyboard Extension; it's already in the version at this link).
The other mode is what you get when you move the switch to the left. This lets you give more input for the program to evaluate your question. Essentially, break your question into factors (as many as you want) and give each factor a value good or bad, then ask the DecisionMaker to weigh in. With each factor press A from one to five times (for Good) and B from one to five times (for Bad). After scoring the factor, touch A1 to add it in.
For example, lets say your question is "Should I go see the new movie Super Space Blockbuster XIII?" and you break down the factors to:
- I love Super Space Blockbusters - read all the books and comics and have all the action figures
- I didn't like the last three that much
- I hear they added famous actor Kirk Handsome
- I think it will be streaming in a couple of months.
So, here's the steps in the evaluation:
Put all those together, and hit the A2 touch to get the verdict.......


